 Ok you guys, I hate to get all braggy on you, but if ever there were a time for a mic drop moment in my life, this is it. I’m not exaggerating when I say that this Best Damn Homemade Pizza…Ever post has been 2+ years in the making. That’s over 2 years of making pizza on a weekly basis – researching different doughs, experimenting with rise times, salt and sugar ratios, oil and water amounts, baking surfaces and oven temperatures. You might say that the pursuit of the perfect pizza has been an obsession of mine. I’d complain that it’s been a rough road, but really, who’d believe me. We’re talking pizza here! Even the less than stellar pies were gobbled up. But this, this is stellar pizza, actually it’s the best damn homemade pizza. I’d even venture to say it’s the best damn pizza. Period.
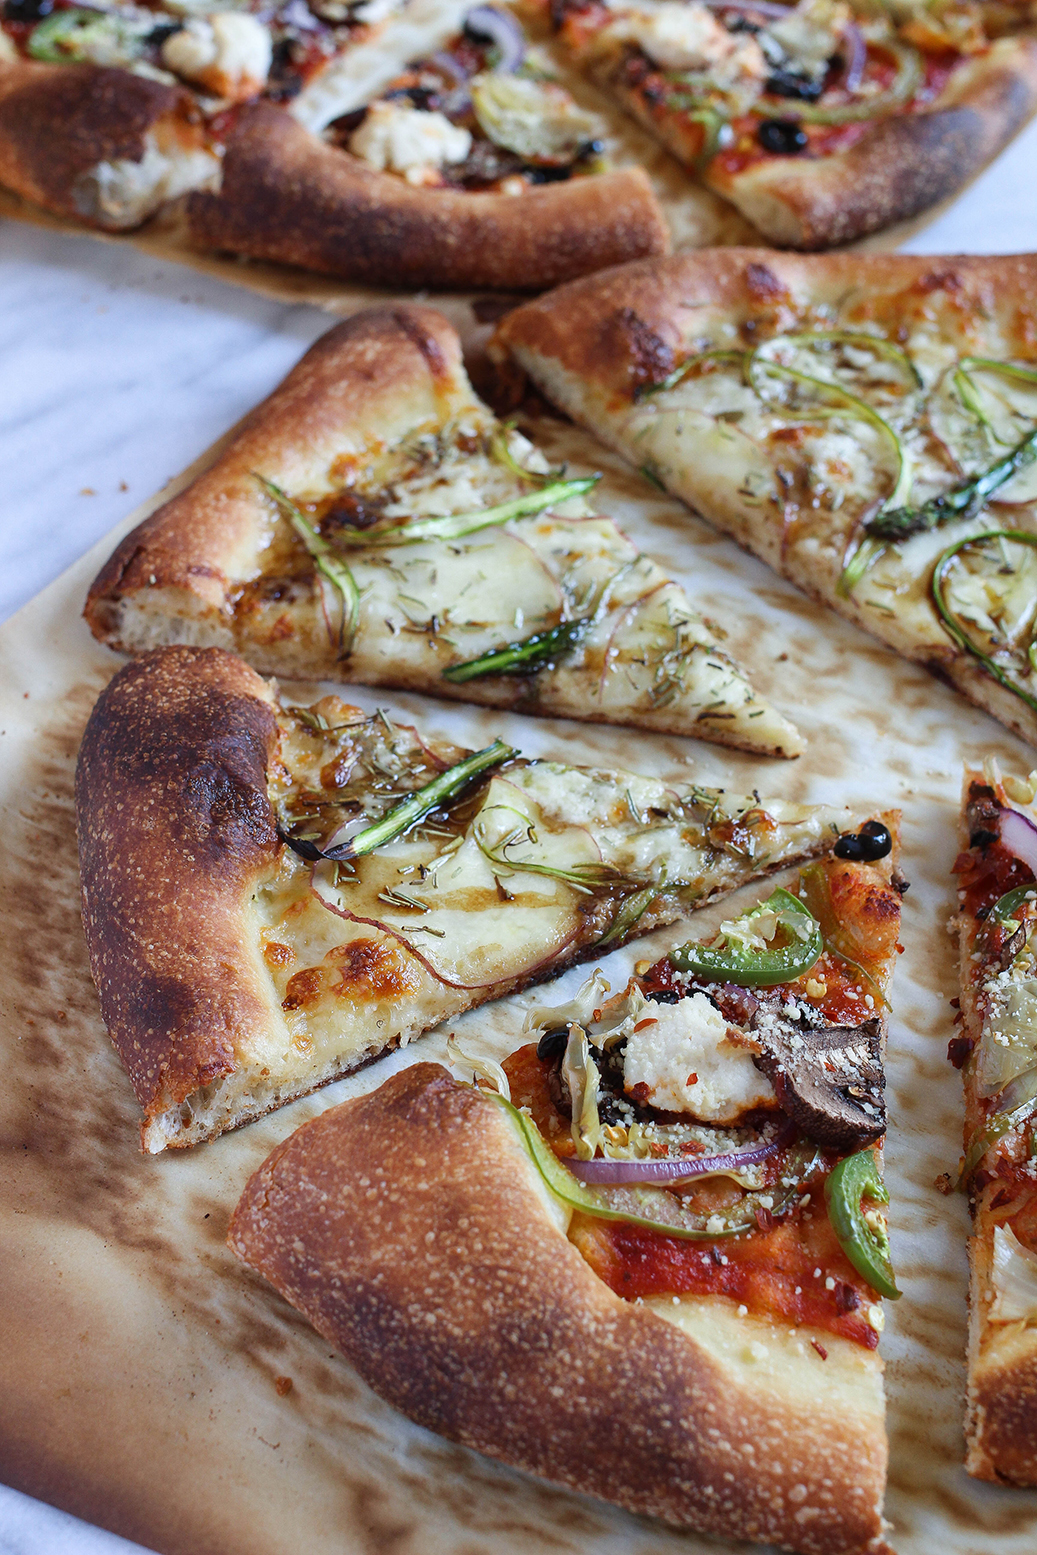
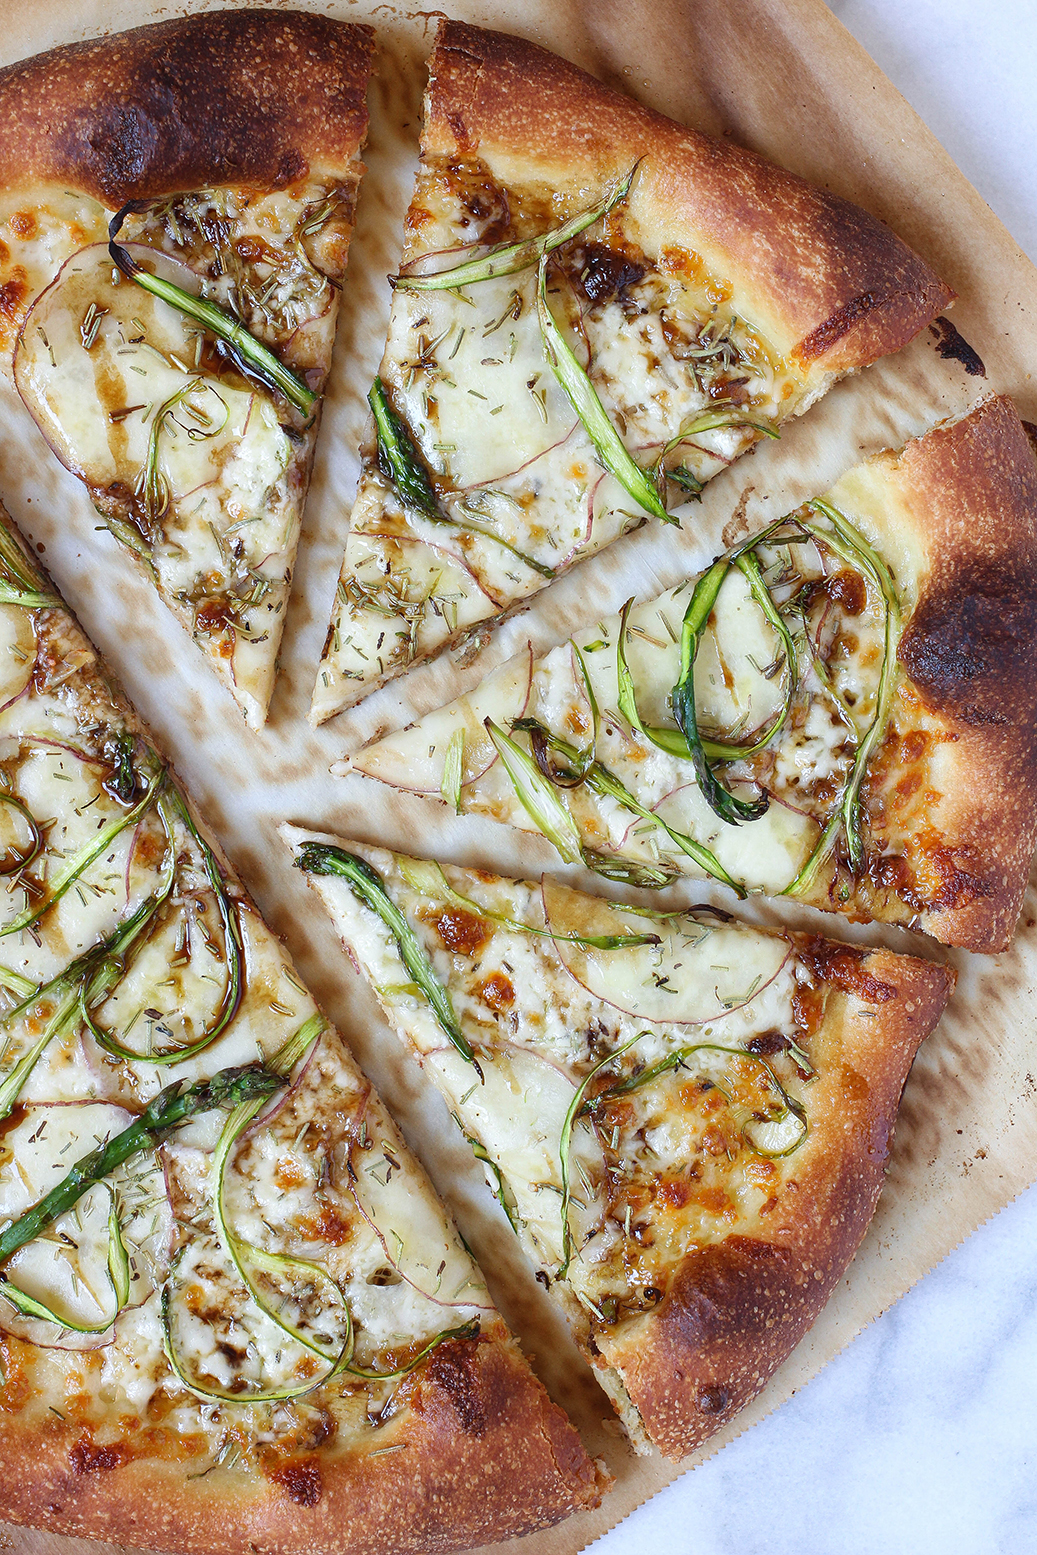
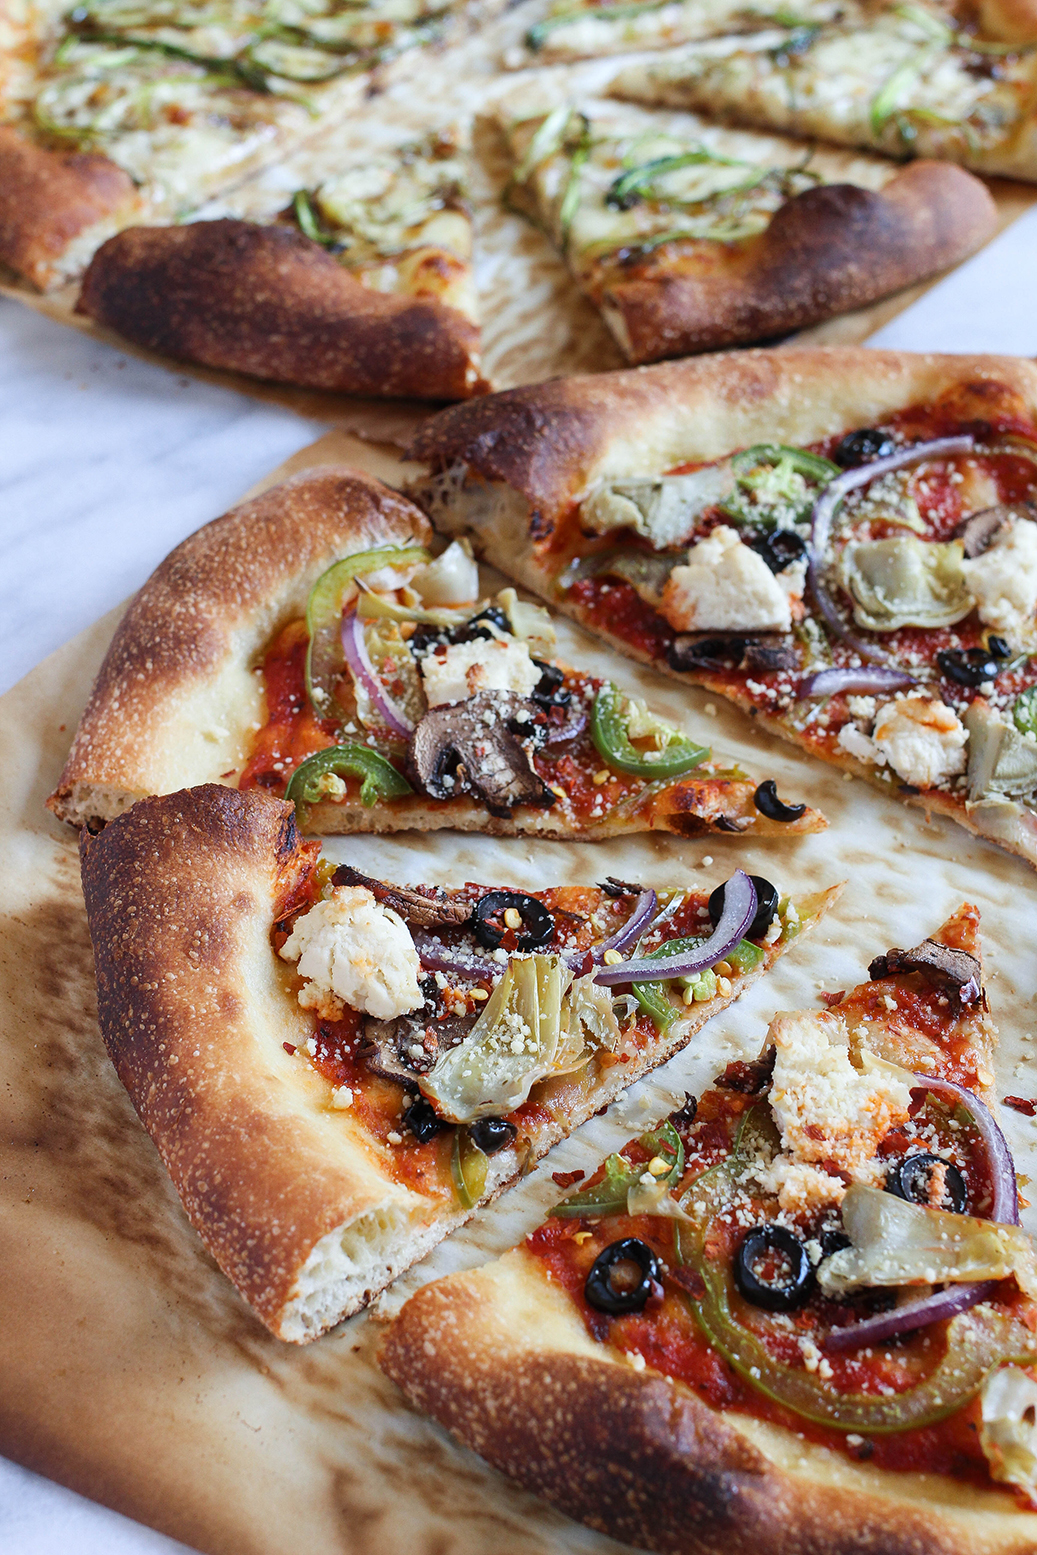
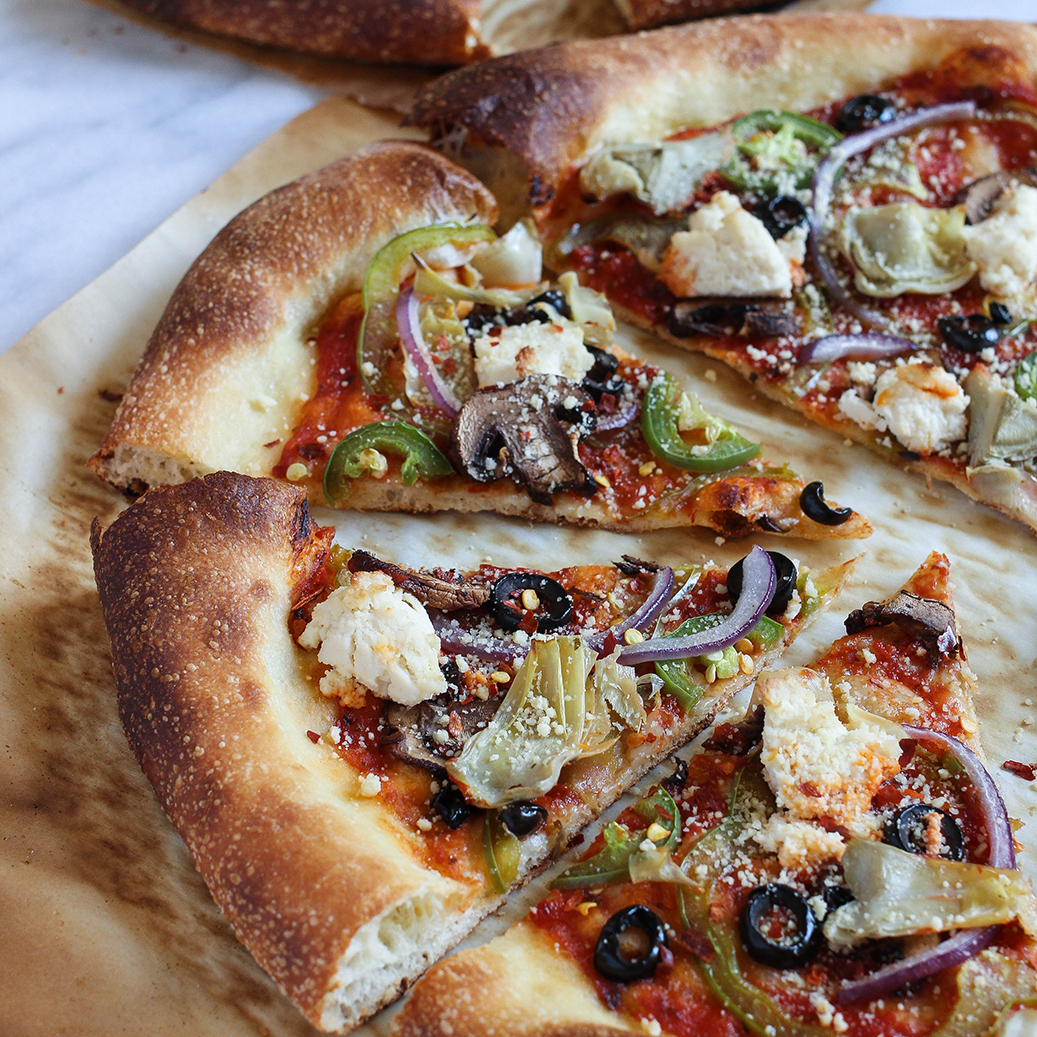
I’d describe this as New York style pizza, meaning it’s got a medium-thin crust. It’s crispy on the bottom followed by a layer of soft, chewy dough and a raised outer crust. The slices are obviously not as long as you’d find in NYC pizzerias, but we’re working with smaller home ovens, so a 20 inch pie isn’t happening. So, what exactly sets this pizza apart? Two (ok, three) things – a two day cold rise in the refrigerator, gently stretching the dough by hand, and a screaming hot baking steel for cooking the pizza. First things first, the cold rise. I’d never heard of such a thing until I started doing my research, but it turns out a prolonged cold rise is the secret to developing insane flavor in your dough. See all of the tiny bubbles on the finished crust in these pictures? That’s flavor baby, and those only show up when you give the yeast in the dough plenty of time to ferment. I found a few sites online that recommend a 72 hour cold rise, which I found to be too long. The development of large air bubbles on the surface of the dough starts to get a little crazy after the 48 hour mark. This makes it harder to shape your dough without deflating the bubbles, which can yield a weirdly misshapen crust. 48 hours is the sweet spot.
Next comes the shaping of the dough. I could try to explain it in writing, but I’m going to force you to watch this video instead. Did you watch it? Yes? Go watch it again, and again. I’ll wait. This method of gently using your hands to shape the dough, first to create a well defined crust and then to stretch the center of the dough, was life changing. I must have watched it like 20 times. And then I practiced, a lot. My first few attempts weren’t very impressive, but it didn’t take long to get the technique down. Now I can easily shape pretty much perfectly circular crusts every time. Besides achieving aesthetically pleasing pizza circles, this method is crucial for retaining the air in your dough. You know, all that air you worked so hard to build up during the two day rise. It’s what gives this pizza that gorgeous height in the outer crust. If you were to use a rolling pin on this dough to shape it, you’d deflate all of that structure. Don’t do that.
The final thing, a baking steel. What are you using to bake your pizza on right now? A cookie sheet? A pizza stone? I’ve been there too, but once you make the switch to a baking steel, you’ll never go back. Nothing gets as hot, which is crucial for creating a crispy (non-soggy) crust. They’re kind of pricey, but they’ll last forever. A cast iron pizza pan is an acceptable substitute but it’s trickier to slide your dough on and off because of the lip and you kind of have to get your dough shaped perfectly to match the pan. Both options can be left in your oven at all times and will actually help to regulate oven temperature.
Besides a baking steel, my list of other “must have” items that are kind of non-negotiable for executing the best damn pizza include: a stand mixer (Please don’t ask me if you can knead the dough by hand, I have no idea, but it sounds awful and like a helluva lot of work. Ditto for a food processor. I’ve experimented a lot with food processor pizza doughs and besides being a huge pain in the a!$ to clean, the dough itself gets beaten around too much, I’m not a fan), a digital kitchen scale (to accurately weigh your dough balls), and a pizza peel (how else are you going to get your pizza into the oven?). I realize the idea of stocking your kitchen with all of these items might seem daunting, but think of all the money you’ll save in the long run from nixing your weekly takeout pizza habit. There are also ways to get creative here. Maybe the baking steel, digital scale, and pizza peel are doable but the stand mixer is a no go. Ask if any of your friends have a stand mixer that you could borrow for a day. This dough freezes really well, so spend an hour making a few batches one afternoon and you’ll have pizza for a month.
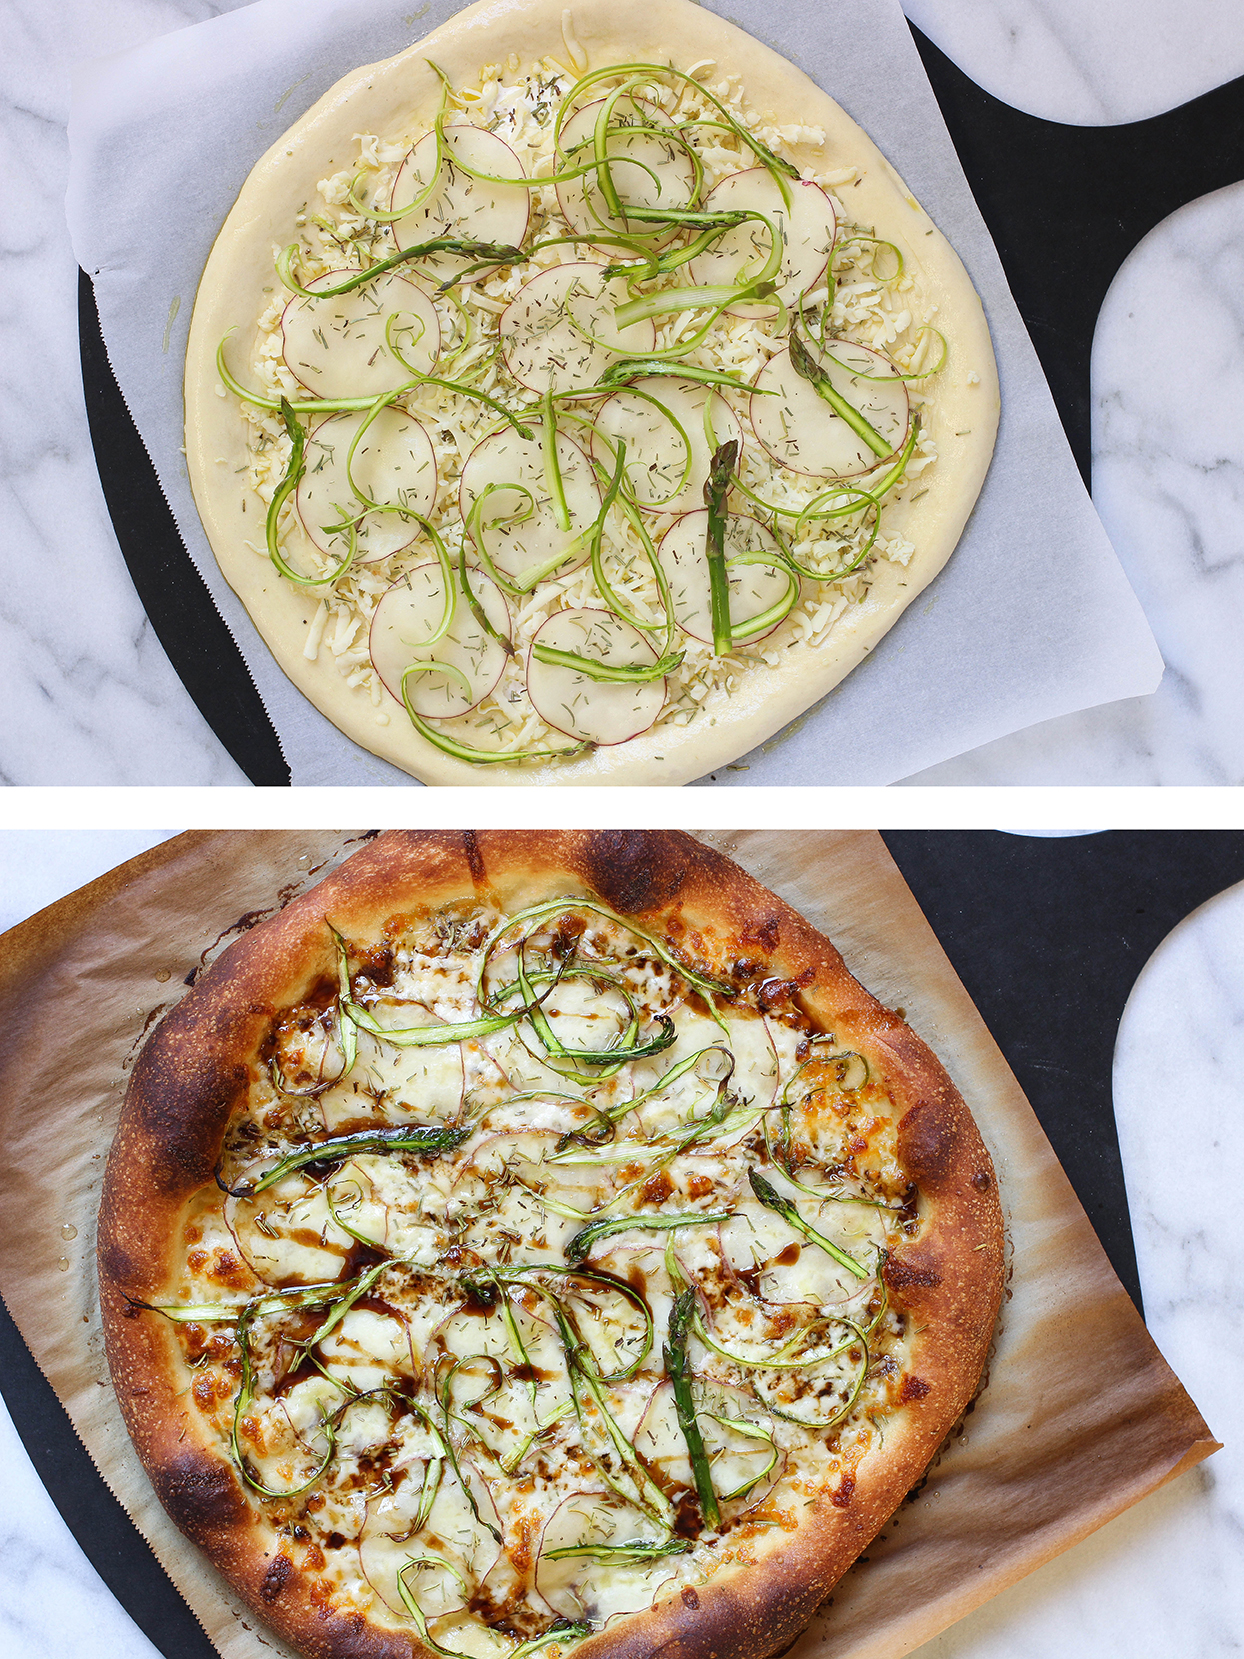
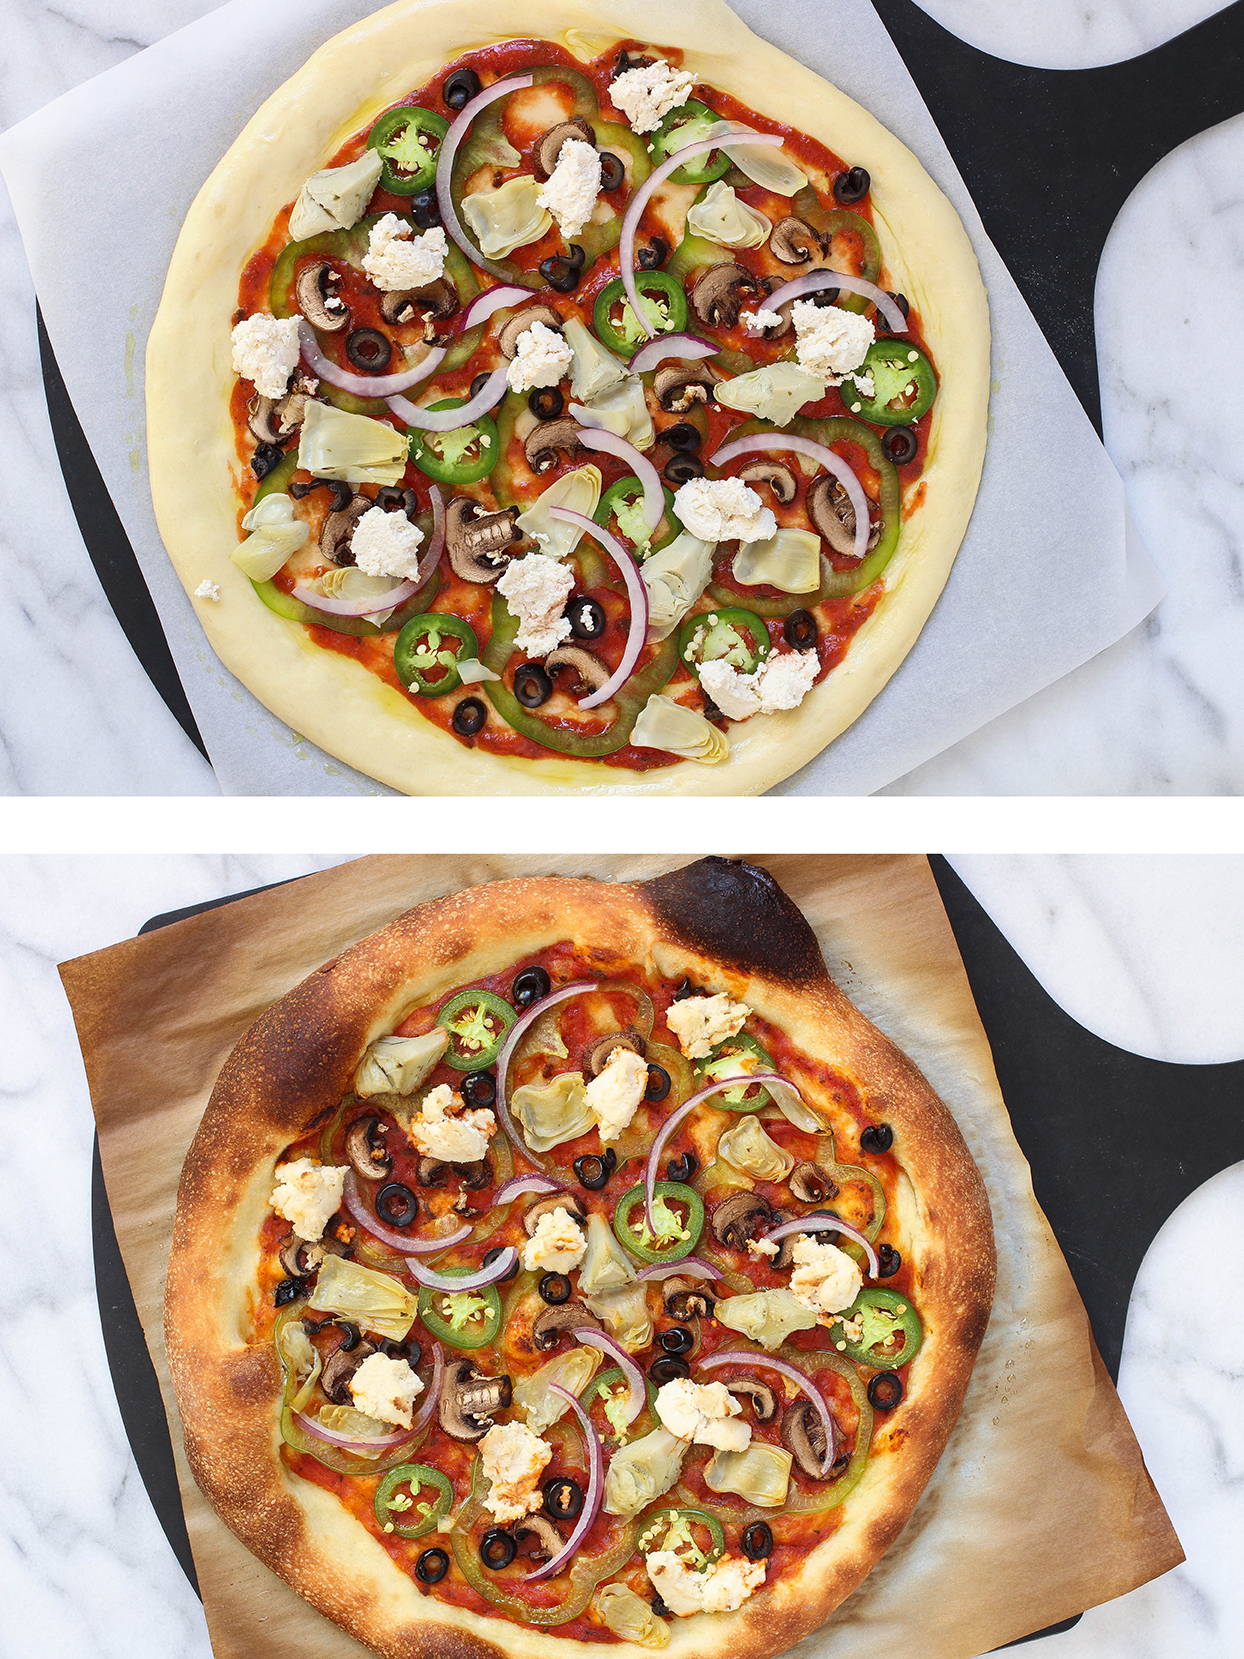
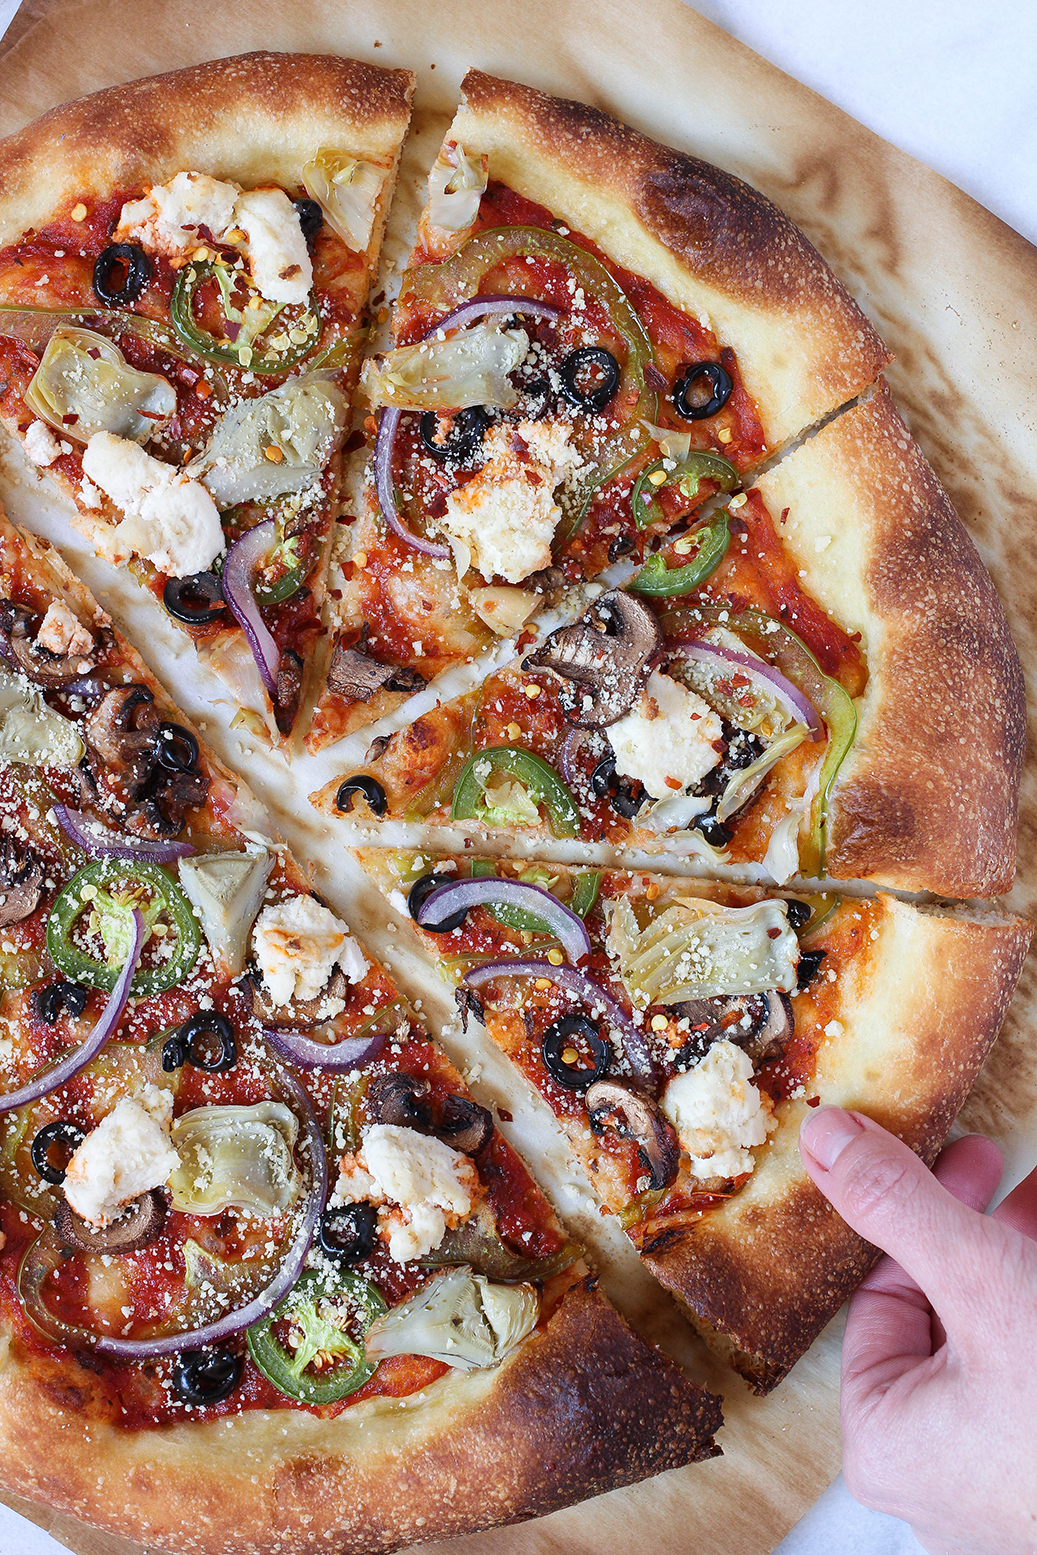
Now, because great pizza is nothing without great toppings, I’m giving you two options. First up is a Vegan Veggie Pizza. I’m not gonna lie, I’ve been a bit of a vegan pizza basher in the past, but Kite Hill’s vegan almond-based ricotta has me reconsidering my former bashing ways. I’ve been enjoying it so much on this pizza that I’ve been passing on my one and only non-vegan indulgence – freshly shredded mozzarella. If you have another fave vegan cheese, feel free to substitute it here or just go with only veggies (also incredibly tasty). If vegan pizza is not in your vocabulary, then I’ve also included the recipe for a killer Vegetarian White Pizza with Potato & Asparagus. It’s also got crushed rosemary and an aged balsamic drizzle. It’s pretty legit, I’m not gonna lie.
Alright, that’s enough talking from me. Let’s get to pizza making. Feel free to ask me any questions in the comment section. I’m here to spread my pizza making wisdom. Just remember to have fun! Also, be prepared for friends to start asking if you deliver.
- Must Haves - stand mixer, digital kitchen scale, quart size plastic freezer bags, baking steel or cast iron pizza pan*, parchment paper
- DRY INGREDIENTS
- 6 cups unbleached all purpose flour**
- 1 tablespoon sea salt
- 3 tablespoons organic cane sugar
- 2 teaspoons instant yeast (not active dry yeast)
- WET INGREDIENTS
- 3 tablespoons extra virgin olive oil
- 2 cups, plus 2 tablespoons water
- additional extra virgin olive oil for coating dough balls before refrigerating
- 1 pizza dough
- 2 tablespoons extra virgin olive oil or garlic oil
- 2 tablespoons heavy whipping cream
- 1 cup freshly shredded whole milk, low moisture mozzarella
- 1 small red potato, sliced thin with a mandoline
- ½ cup, shaved asparagus (from about 6 asparagus spears) tossed in 1 teaspoon olive oil
- 1 teaspoon dried rosemary
- sea salt
- aged balsamic vinegar for drizzling (I like this brand)
- 1 pizza dough
- 2 tablespoons extra virgin olive oil or garlic oil
- about ⅓ cup homemade or store-bought pizza sauce
- sliced veggies of your choice (green bell pepper, mushrooms, onion, jalapeno, marinated artichokes, olives, etc.)
- vegan cheese of choice (optional)
- red pepper flakes & cashew parmesan for serving
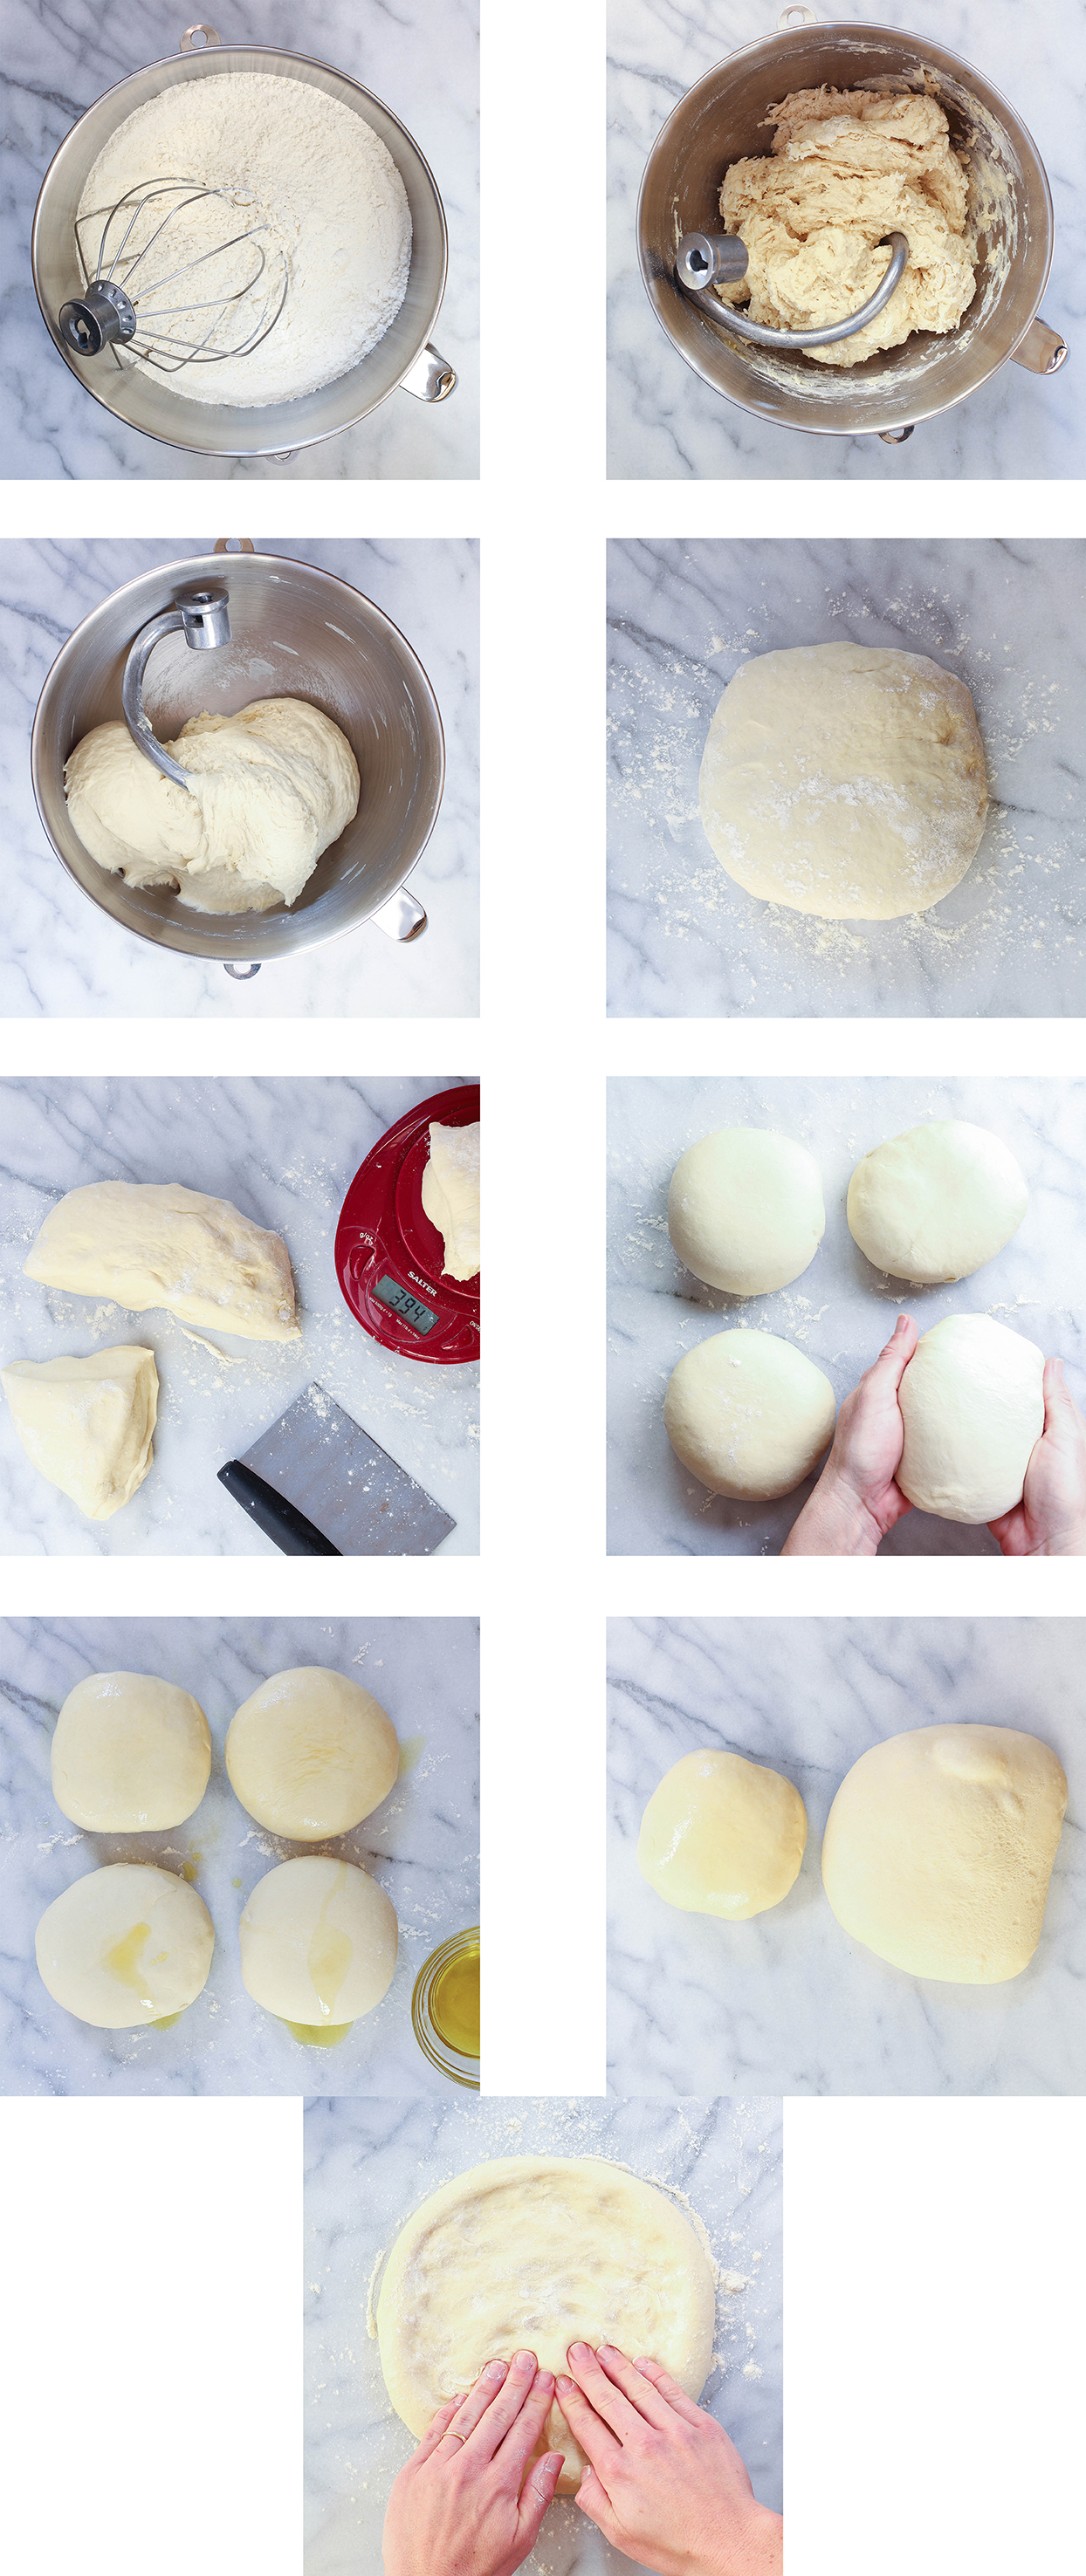
- Combine dry ingredients in the bowl of a stand mixer. Use the whisk attachment to mix together.
- In a separate bowl, combine olive oil and water. Switch out whisk attachment for dough hook. Turn mixer to lowest setting and slowly pour in water/oil mixture, until a dough forms. Give the dough at least 30 seconds to come together. If dough is still too dry and is sticking to the sides, slowly add up 2 additional tablespoons of water. (Depending on the temperature and humidity in your kitchen on any given day, you might use slightly different amounts of water each time you make your dough.)
- Once dough forms, turn the mixer up one speed and allow to run for 4 minutes. (Do not knead dough for any longer or it will become tough.) Dough should be smooth and pulling away from sides of the bowl.
- Remove dough from mixer and turn out onto a well floured surface. (If dough is still a bit sticky, use some flour to help remove dough from bowl and dough hook.) Gently shape into a large ball. Use a bench scraper or knife, to cut dough into 4 evenly sized pieces. Use a digital kitchen scale to weigh pieces. (They should generally be between 370 and 395 grams each).*** Even out amounts of dough in each piece if necessary then shape into small balls by tucking ends under.
- Drizzle olive oil liberally over each ball and use your hands to generously coat. Place each ball in a quart sized ziplock bag. Remove as much excess air from bag as possible and seal tightly.
- Place dough in the refrigerator (lay flat, do not stack on top of one another) for 48 hours. Dough should have roughly doubled in size and some air bubbles may have formed on the surface.
- After two day cold rise, remove dough from the refrigerator and allow to come to room temperature (you can leave dough in the ziploc bag) while you preheat your oven.
- While dough is coming to room temperature, place baking steel in the center rack of oven. Preheat oven to 525 F (or the highest temperature setting your oven will go to****) and allow to heat for at least 45 minutes to ensure baking steel is screaming hot.
- Use scissors to cut open plastic bag and gently remove dough. (Don't pull dough out of bag or you will deflate it.) Place dough on a well floured surface and sprinkle top liberally with flour. Use your hands to gently shape into a circle and form a crust. Watch this video to get an idea of the basic technique! Do not use a rolling pin on your dough. Once you've shaped your dough into a 12" to 14" inch circle, lay onto a piece of parchment paper cut to roughly the size of your baking steel.
- Brush dough liberally with olive oil then add desired toppings. Slide parchment paper with dough onto a pizza peel. Use pizza peel to scoot parchment paper onto your baking steel. Baking time will vary depending on how hot your oven goes. If baking at 525 F, pizzas should take anywhere from 8 to 10 minutes to bake up golden brown, but begin to check for doneness at 6 minutes.
- Pull parchment paper onto pizza peel and remove pizza from oven. Slice and serve.
- To freeze dough, place directly in the freezer after 48 hour cold rise. Thaw dough in the refrigerator for 8 hours before following preparation instructions above. Dough can be frozen for up to a month.
- Sprinkle sliced potatoes with a few pinches of sea salt and allow to sit while you prepare dough.
- Shape dough as described above and place on a piece of parchment paper. Brush dough liberally with olive oil or garlic oil. Drizzle with heavy whipping cream then top with cheese.
- Potatoes should have released some moisture from the sea salt. Blot with a paper towel then layer onto pizza. Place asparagus on top of potatoes. Crush dried rosemary in your hand to release oils then sprinkle over pizza.
- Pull parchment paper with pizza onto pizza peel. Use the peel to scoot the parchment paper onto your baking steel. Bake for 8 to 12 minutes.
- Remove from oven. Slice pizza and drizzle with aged balsamic vinegar.
- Shape dough as described above and place on a piece of parchment paper. Brush dough liberally with olive oil or garlic oil. Spoon on pizza sauce then layer on veggies. If using, sprinkle on vegan cheese of choice.
- Pull parchment paper with pizza onto pizza peel. Use the peel to scoot the parchment paper onto your baking steel. Bake for 8 to 12 minutes. Remove from oven. Slice pizza and serve sprinkled with red pepper flakes and cashew parmesan.
** Scoop flour using a measuring cup and level off with your hand or a knife.
*** For slightly larger & thicker pizza crust, divide dough into three balls, roughly 450 grams each. This is the size I make my dough balls when I know I'll only be making one pizza for my husband & I to split. It's the perfect size.
**** Many home ovens will only go to 500 F, which is fine. I recommend using an oven thermometer to accurately determine your oven temperature. When set to 550 F, the actual temperature of my oven is only 525 F, even after preheating for 1 hour.
Can u use spelt flour instead for allergy reasons
Hi Shama, the short answer is, no. This recipe was written specifically for using all purpose flour.
It needed Flicckr to work seamlessly with Yahoo Mail.
Yum! I can’t wait to try. My husband and I are VERY new to a plant-based diet. Pizza is his favorite, so we’ve bene wanting to make our own. Going to slowly acquire all the “gear” – or I’ll ask Santa 😉
after the dough is made into balls and put into fridge to rest for 48 hrs, is the unused dough
suitable for freezing after that time or is it best to freeze right after it’s made?
Hi Fred, allow the dough to rise in the fridge for the full 48 hours and then freeze it!
Came for the split pea soup and copied the Damn Pizza recipe, thanks
Jakub oooppss
Haha! I mean, how can you resist the Best Damn Homemade Pizza?!
Incredibly informative post. Well done! Usually i just scroll trough bullshit and adds above the recipe. Not here!
I use a similar method, but there is one tiny thing that i woul encourage you to try. That is generously coating your dough balls with semolina flour. It will take that beautifull crust to the next level.
I’ll have to try that! Thanks so much for commenting. I’m glad you found the post worth reading through completely. I have to admit, I’m guilty of just scrolling straight to the recipe at times too. 🙂